OVERVIEW ON HOW TO MAKE CRAPS TABLE
|
|
As I was asked for info on our Craps Table…and NO tutorial was ever written…I assembled an overview of its construction with, at least, some measurements…and pictures
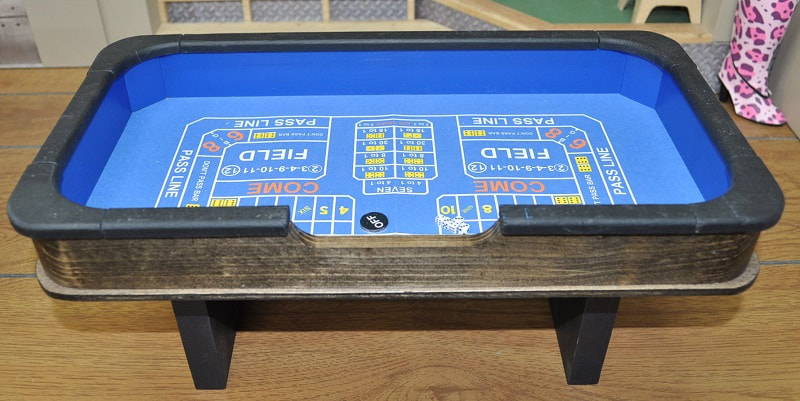
First off, my table measures about 15 ¼” long by 8 ¼” wide by 6 5/8” high.
First off, my table measures about 15 ¼” long by 8 ¼” wide by 6 5/8” high.
|
|
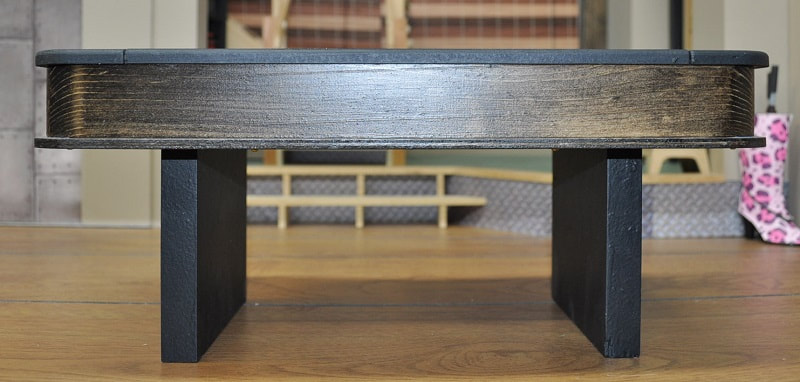
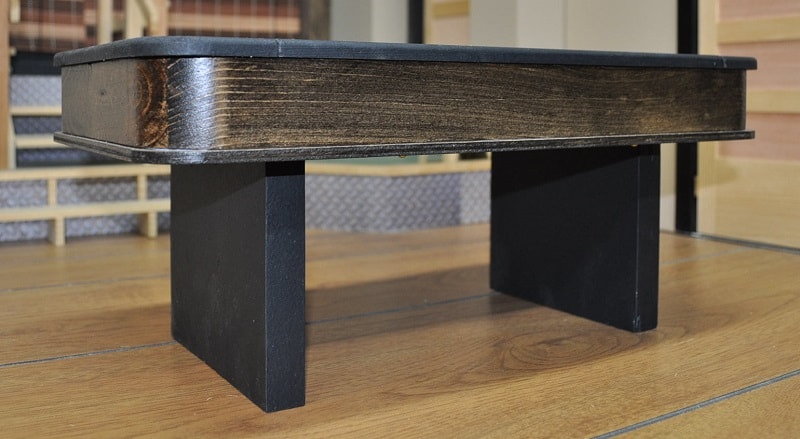
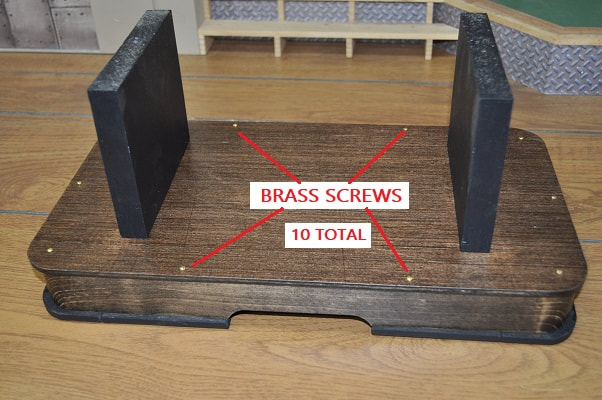
The legs are the simplest part as they are made from ¾” thick standard pine board. I cut the stock into two, 5 ½” long by 4 5/8” wide pieces. The 4 5/8 dimension is the leg’s height. I wanted them to be flat black and not show the wood grain so it took two good coats of primer, like Kilz, after a good sanding to hide the grain before painting them black.
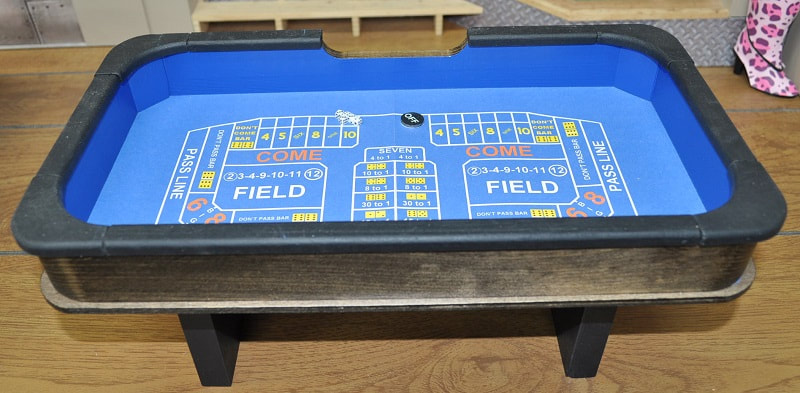
Moving to the top section…the bottom panel is simply LUON, which I use in most all of my projects for economy sake. Once cut to size and the corners are rounded, the legs may be secured to it with two flathead wood screws each from the top surface as this side will be covered by the playing field. The legs are located 2 ½” from each end and centered side to side
Moving to the top section…the bottom panel is simply LUON, which I use in most all of my projects for economy sake. Once cut to size and the corners are rounded, the legs may be secured to it with two flathead wood screws each from the top surface as this side will be covered by the playing field. The legs are located 2 ½” from each end and centered side to side
Above this LUON panel are the sides. I first made a simple frame of 3/8” thick pine that measured about 8 1/16” wide by 15” long by 1 ½” high. In order to round the corners as I did I added right angle triangular pieces to each corner with the two identical legs of the triangle being ¾”. Simply cut from ¾” stock on a table saw.
Once these are glued in and dry, round the corners. I’m guessing I used 1 ½” radius on these corners…as best I can tell now with the pieces on the top.
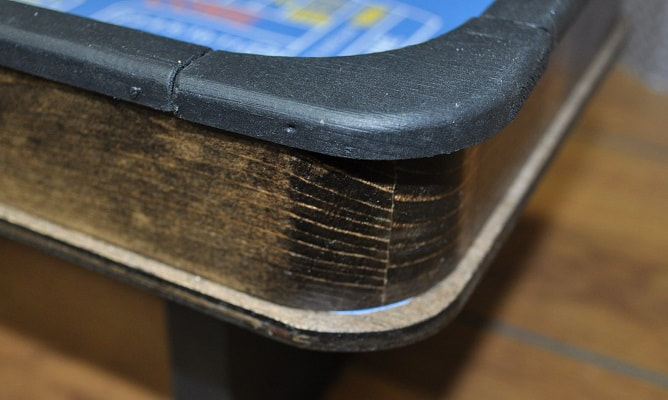
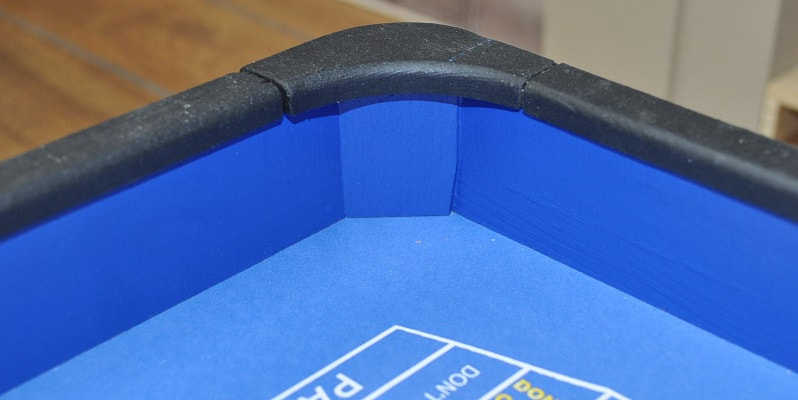
The black “padding” around the top is identical to what I used on my Roulette table. It amounts to 5/16” thick pine. The straight areas are 5/8” wide and the corners identical to each other and rounded to look right on the inside and outside edges. All top corners are rounded with a router to 1/8” radius. These pieces are glued to the top of the side walls.
The LUON bottom is secured to the side walls using 10 round head brass screws as I thought they looked nice. You can use any type of screw…but you should use screws here in case you even need to change out the playing field as it is printed on card stock, cut to size and trapped between the LUON and the side walls. Since I do not have card stock big enough to make this in one piece, I planned it out so the only seam runs at the center of the table crosswise.
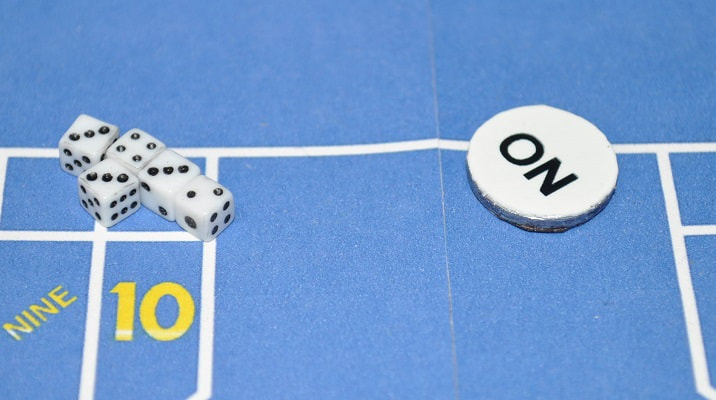
The ON/OFF puck is nothing more than a thick steel washer that is 5/8” in diameter. I printed out the ON and OFF onto glossy photo paper then used two sided carpet tape to hold them to the washer.
The dice came off ebay. They are VERY nice…though the dot on the side with ONE dot is oversized for some reason. The other sides look great
The LUON bottom is secured to the side walls using 10 round head brass screws as I thought they looked nice. You can use any type of screw…but you should use screws here in case you even need to change out the playing field as it is printed on card stock, cut to size and trapped between the LUON and the side walls. Since I do not have card stock big enough to make this in one piece, I planned it out so the only seam runs at the center of the table crosswise.
The ON/OFF puck is nothing more than a thick steel washer that is 5/8” in diameter. I printed out the ON and OFF onto glossy photo paper then used two sided carpet tape to hold them to the washer.
The dice came off ebay. They are VERY nice…though the dot on the side with ONE dot is oversized for some reason. The other sides look great
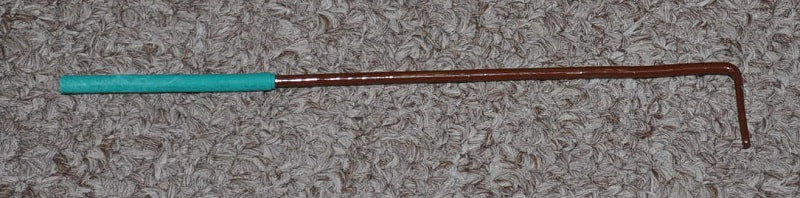
Lastly the stick for pushing the dice and chips around is again…just a piece of a metal coat hanger. The handle is about 5 ½” long and the bent end is about 3/4” long. Before I bent it, I used a hammer to flatten one end for the ¾” needed…then bent it. The green handle is nothing more the TWO layers of green heat-shrink tubing from my radio control stuff. I just used their precut length of about 1 ¾” for the final handle length. I dug through my hobby paints for a suitable brown paint and, two coats later, it was done.
If I missed something you would like to know more about…please let me know