HOW TO MAKE A 1/6TH SCALE RURAL ROAD - part 1 STRAIGHT
In order to make more use of the “street” vehicles we have it became necessary to construct a ROAD. Not just any road but a near-enough 1/6th scale paved country road. The first question to come up was “How wide should it be?” According to the Internet, a typical road is 8 feet wide (and you know you can trust the Internet). This makes a scale road 16” wide per lane. So I laid out these dimensions on a LARGE sheet of poster board to get a good visual of this size. For our red sports car, this actually looked a bit too wide while, when I set the Mini Cooper on it, things looked pretty good. With our 1/6th HUMMER on the same road…I wouldn’t want it any narrower. This sucker IS huge. Trying to be practical here and, knowing I did not plan (ya, right) to use the hummer in these upcoming shoots, I opted to bring in the size of the road to 14" per lane...or 28" total width including the center line. Next there is the question of "How long?" Well, I knew I was NOT going to make (not yet any way) a 40 foot road, I figured I could start with one 8 foot section and then work on a curved section that could be attached to either, or both, end using a second sheet of plywood. These sections can still be cumbersome and a storage nightmare, especially at my age, so I decided the 8 foot section would be two connecting 4 foot sections and the curve would also be fabricated in two sections as long as possible from a second sheet of plywood.
Materials...
Luon (Inexpensive, 3/16” thick 4 x 8 sheet plywood)
#6-32 3/8” long FH bolts
#6-32 “T”-nuts
Sandpaper
Primer
Flat Black Paint
Flat White Paint (for center line)
Luon (Inexpensive, 3/16” thick 4 x 8 sheet plywood)
#6-32 3/8” long FH bolts
#6-32 “T”-nuts
Sandpaper
Primer
Flat Black Paint
Flat White Paint (for center line)
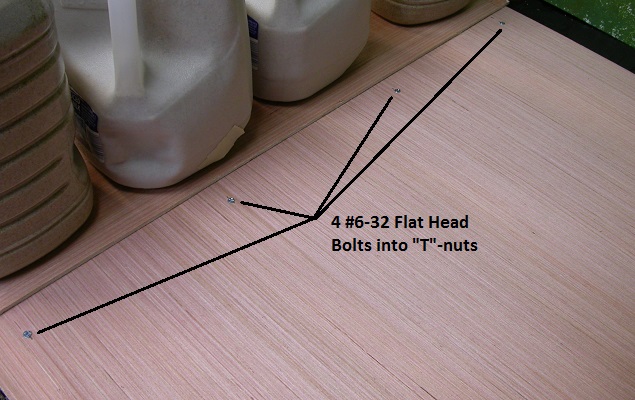
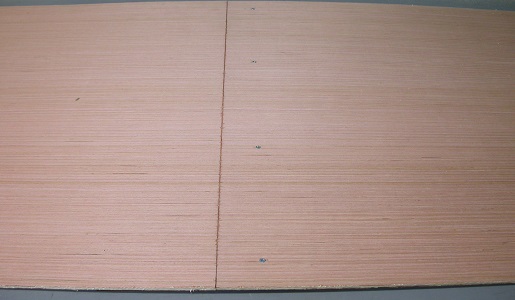
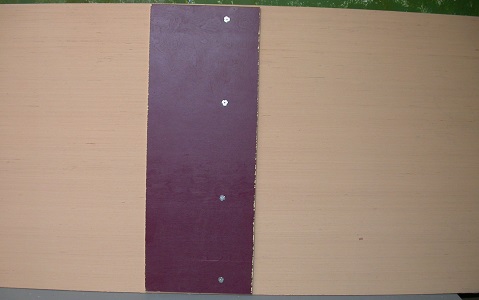
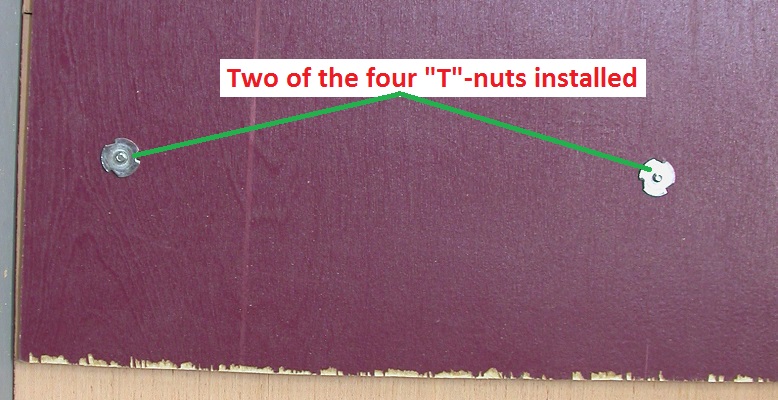
Simply enough, I had the local lumber yard cut my first 4 ‘ x 8’ sheet of plywood lengthwise at 28” and then cut this in half. Now we are started. After getting these home, I lightly sanded the outer edges before lining them up on my work area. I cut a piece of plywood from another project to 27 3/4” x 10 ½”. I marked off the centerline of this piece down the length and clamped it to the end of one section along this line so that it is centered and falling 1/8” short on each side of the road. Mark off the location for four #6-32 flat head bolts and “T”-nuts at 1 ½” and 9 ½” from each outer edge and 2” from the center line. Drill through BOTH boards the proper size for the “T”-nuts then separate them. Use a vice or other clamp if possible to press the “T”-nuts into place. Countersink the holes on the other section for the bolts but bore them a bit short as this plywood is rather soft and will compress the wood a bit when it is snugged up. Next, with the coupling board bolted in place, glue it to the remaining 4’ section so it fell an even 1/8” from each side. Both section edges should now line up.

|
|
I placed a new plastic garbage bag under the two pieces and used these jugs of sand to hold the glue joint until dry.
|
|
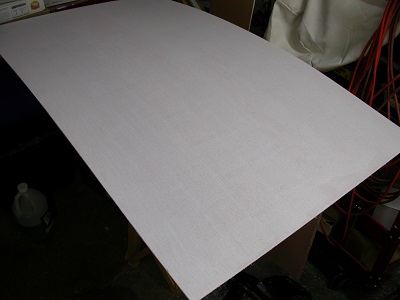
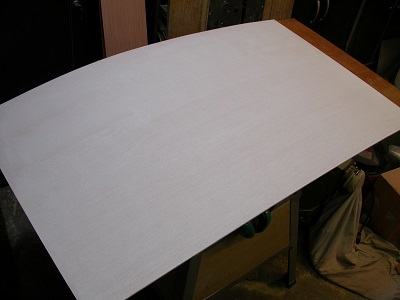
Once the glue is dry, separate the two sections and prime the top side and edges using a roller and a good primer like Kilz. This should remove the “wood” appearance from the surface before the final painting. Don’t forget to prime the edges.
|
|
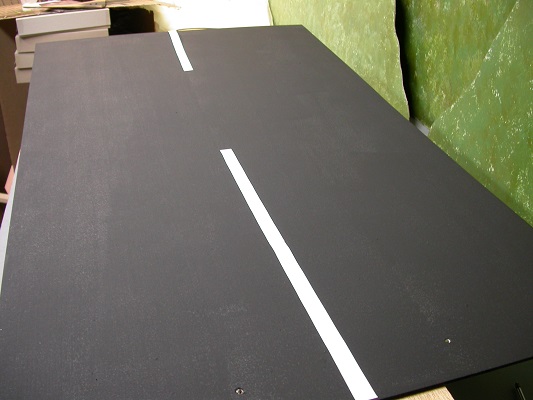
When this is dry, use a roller again to paint the top and edges flat black. Be careful to keep the paint thickness to a minimum where the two sections join. I cheated a bit here by covering these end edges with a black felt tip marker then rolled the paint up to it. Let this dry near completely…even a couple days depending on temperature and humidity. Remember, typical latex paint will take up to a week or more to dry thoroughly as they dry from the outside in. I also spray painted the bolt heads flat black so they would not be so obvious in pictures.
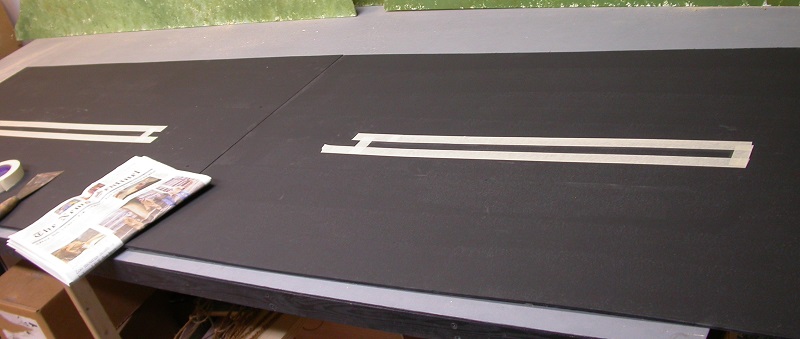
This shows the paper strips on one 4 foot section. As explained below, I changed where these sripes would be painted on.
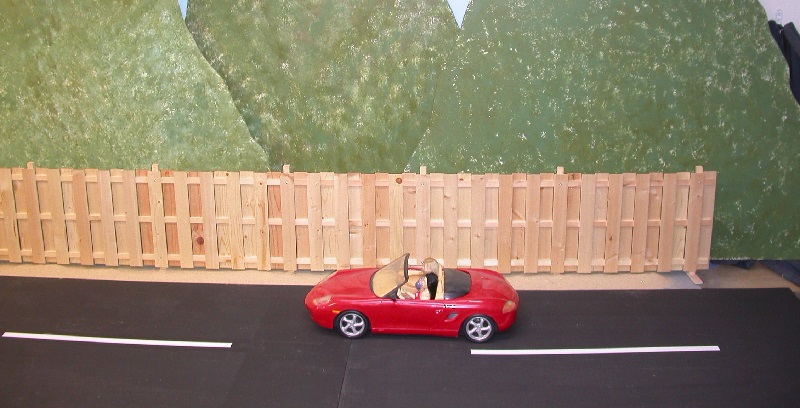
Taking my life in my hands, I ventured out into the street in front of our house to measure a “road stripe”. Luckily it was early on a Sunday morning before church and traffic was light. I found a typical stripe was 5 inches wide and 12 feet long. Making a scale stripe about 13/16” wide and 24” long. This sounded way too long so I made up two paper strips 13/16 wide and double the length of a sheet of printer paper (22”) and laid them on my road. It actually looked pretty good so based on that…when you are comfortable that it is dry enough, assemble the two sections. Locate the centerline of the assembly and lay down the two strips of paper made earlier. Outline these strips with masking tape but mask them off out to 24”…not the 22” shown by the paper strips.
Then protect the rest of the road with sheets of newspaper and more masking tape. In 8 feet you should lay out 2 areas that should be white but I did not want it to be too just start at one end so I made the first stripe start 12” from the end which put the same effect on the other end. When I get around to making the curved section(s), any stripe put on them will also start 12” from their end. I may have to “adjust” the length and spacing on the curved sections down to about 18-20” so that both ends look right, due to the length of the curved section, when attached to either end of the straight section.
I thought about brush painting these stripes but decided on spray. I hate brush marks…and the extra drying time required. I spray painted one then moved the newspapers from the first one to the second and had no problems with the used tape not sticking or overspray. While the paint is still wet, remove all masking tape. This concludes the construction of the straight section. Part 2 will cover a curved section that will attach to either end of this section.
I thought about brush painting these stripes but decided on spray. I hate brush marks…and the extra drying time required. I spray painted one then moved the newspapers from the first one to the second and had no problems with the used tape not sticking or overspray. While the paint is still wet, remove all masking tape. This concludes the construction of the straight section. Part 2 will cover a curved section that will attach to either end of this section.

|
|