AN OVERVIEW ON HOW TO MAKE A ROULETTE TABLE
I did not make a tutorial on my Roulette table as it seemed to be a bit of an eclectic project...like our Craps table... but I was asked to post some pics and explain a few points…so here goes.
|
|
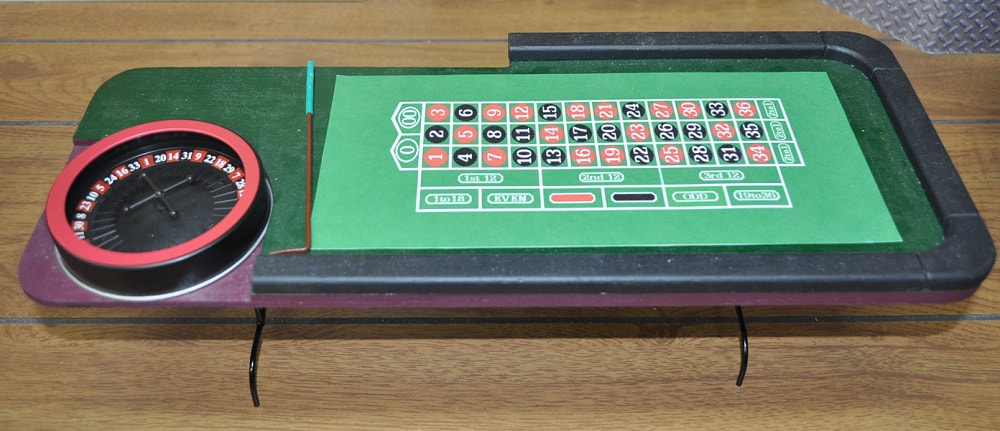
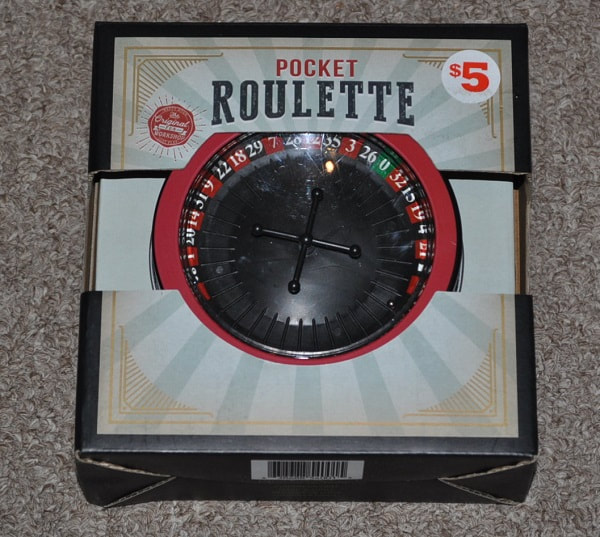
Mine started when I saw this mini Roulette wheel at our local BigLots store during the 2018 Christmas season. BigLots is a closeout store. When I saw it, I measured it and went home to research Roulette wheels to see if this is even an acceptable 1/6th scale item. It fell well within the sizes shown on ebay…so I bought one. Inside the box, it comes with a bottom tray that holds a playing mat and a bag of chips. The chips are very nice but the mat is sad. The wrinkles I suppose could be ironed out but the red numbers were FAR from red. I ended up making and printing my own mat on card stock. The clear plastic top cover was easily removed. First carefully wiggle/twist the handle for spinning the wheel to remove it and set it aside. Then by pressing down carefully with your thumbs and working your way around the red rim, the clear plastic cover will let go. It is held only in three places with a sticky substance.
I went back after the Christmas season and bought three more off the discount rack for half price just for the chips.
I went back after the Christmas season and bought three more off the discount rack for half price just for the chips.
|

|
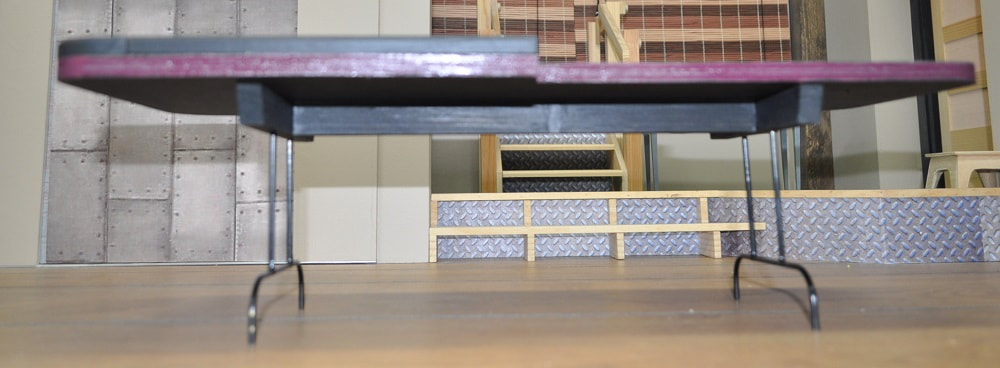
The dimensions of my final table are 17 1/2" long by 7 1/4" at the widest point by 5 3/8" to the top of the edge padding. I found these tables can easily be bigger or smaller. This size worked well for use in my iCarly living room and with the wheel I used.
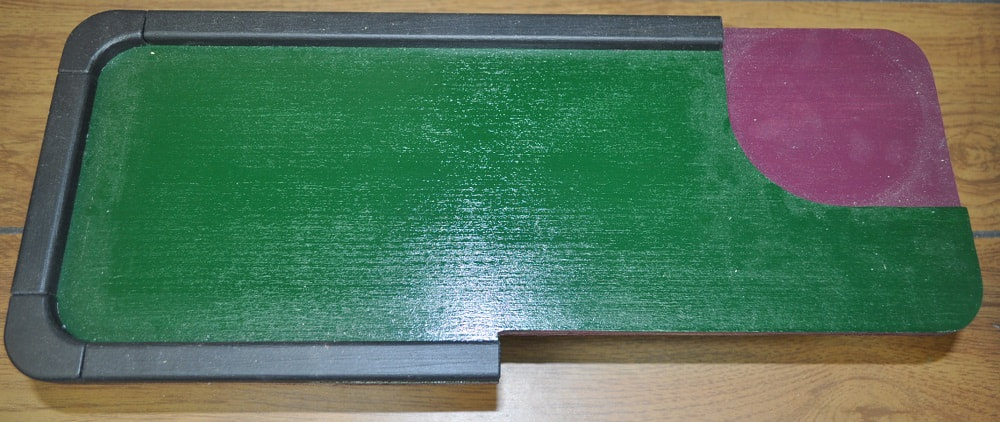
The table top consists of two layers, glued together, of 3/16” Loun…which is cheap underlayment available at most lumber yards.
The black padding around the edge is simply cut pieces of wood that I added a 1/8” radius to the top edges with a router. they are about It looks close enough to a leather covered pad to me.
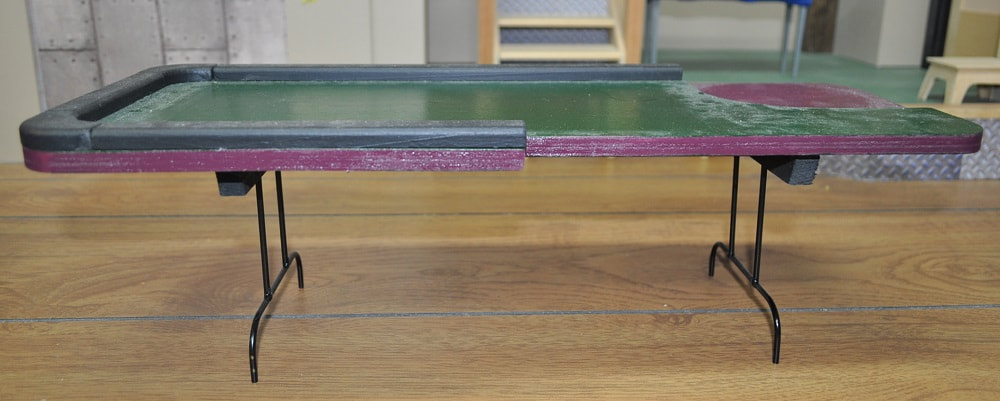
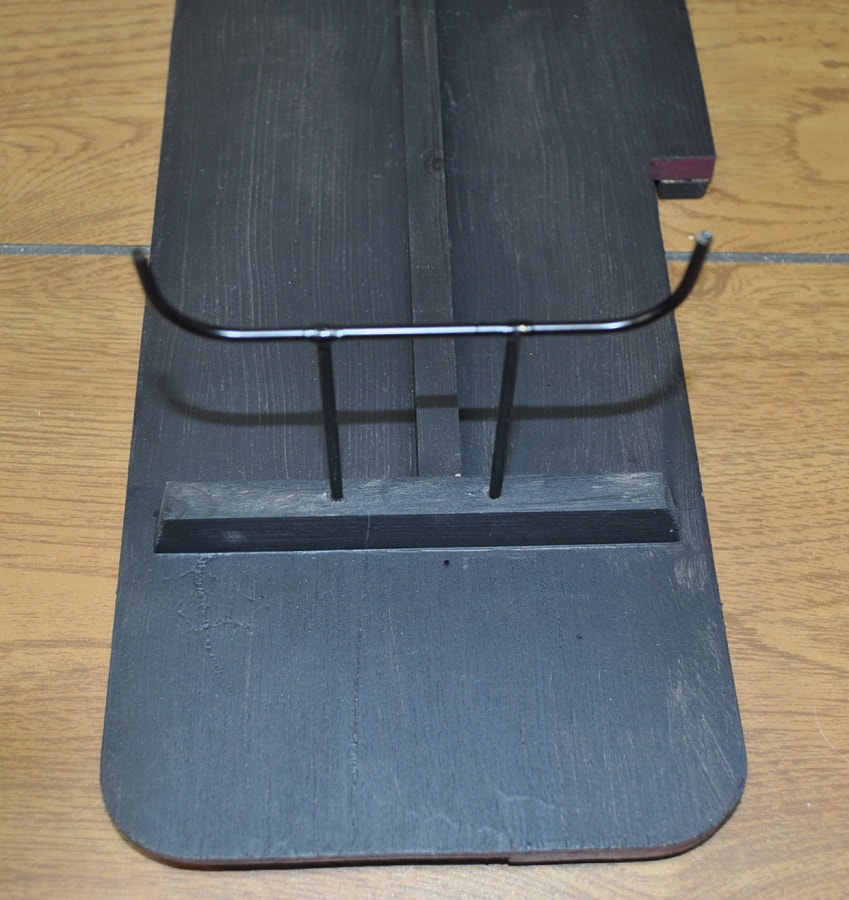
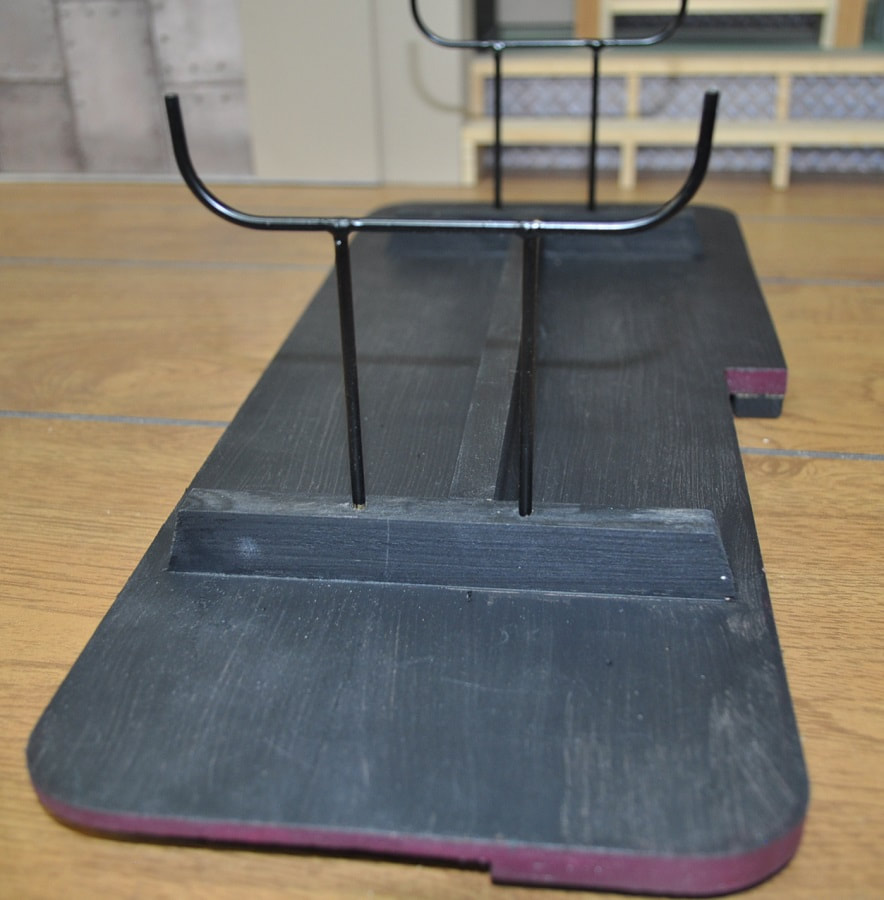
The legs are simply cut pieces of metal coat hanger, bent to shape and soldered together.
I checked and the radius of the bends DOES match the arc of my only tubing bender so I am quite confident I used it but as you know...this isn't hard to bend. If I hadn't had a tubing bender I expect I would have clamped a socket of the proper outer diameter in a vice and simply wrapped it around it. The trick is making TWO that are identical.
I checked and the radius of the bends DOES match the arc of my only tubing bender so I am quite confident I used it but as you know...this isn't hard to bend. If I hadn't had a tubing bender I expect I would have clamped a socket of the proper outer diameter in a vice and simply wrapped it around it. The trick is making TWO that are identical.
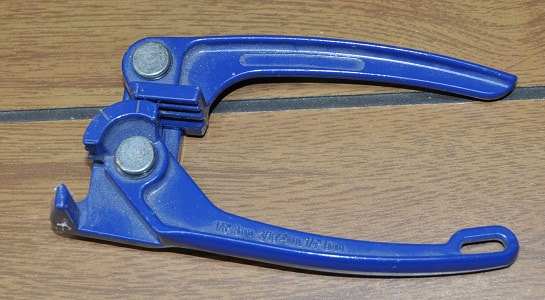
Standard tubing bender for 1/8", 3/16" & 1/4" tubing.
I'm sure I had what I wanted drawn out on paper to lay each one on. I'm also sure I made the ends long and trimmed them after the bends to the proper length. I had no actual "to size" photos to work from. I simply laid out the table height and width on paper and drew something that looked like various pictures for my pattern.
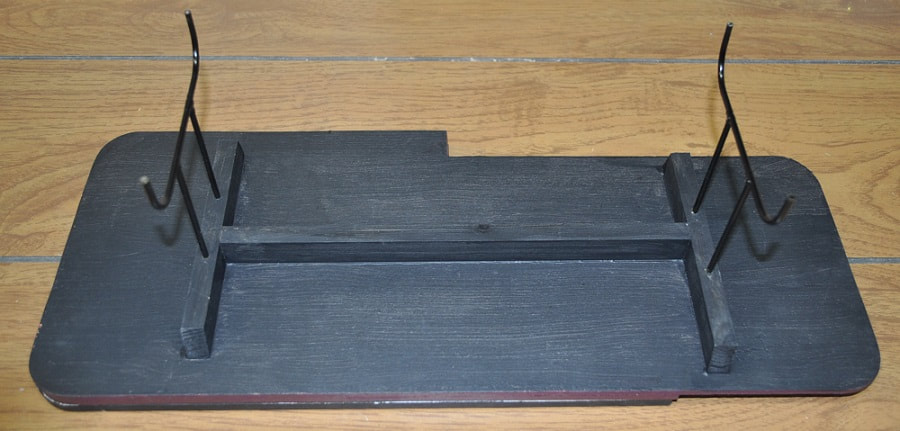
I did make a simple jig from wood scraps to hold the parts for soldering so they would be identical where they entered the cross member under the table so they were interchangeable
I did make a simple jig from wood scraps to hold the parts for soldering so they would be identical where they entered the cross member under the table so they were interchangeable
They are held in place by drilling holes in the bottom cross pieces and simply inserted in place. It gives the appearance that the legs collapse…but they do not. Though they may easily be removed to storage
|
|
As I stated…this is NOT a tutorial but an OVERVIEW that may answer a few questions. If there is anything more specific you’d like to know please ask
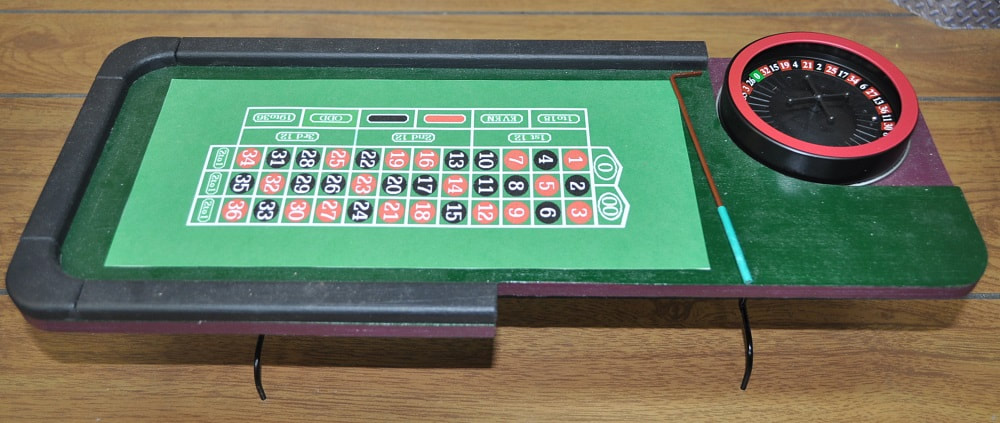
Please note that most any Roulette table you may find pictures of are NOT quite the same shape as mine. The area where the operator stands should be the widest point of the table...not the narrowest, like mine is. Below is a typical shape.
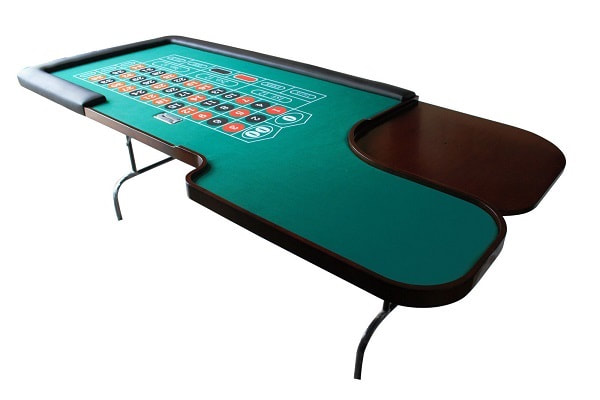
The above shape is what I started with but, before painting, I did some tests for figure reach only to find it all looked too unnatural. By reversing this "bump" into a "reduction" in width I feel my pictures were much more natural and easier to pose.