HOW TO MAKE TOILET
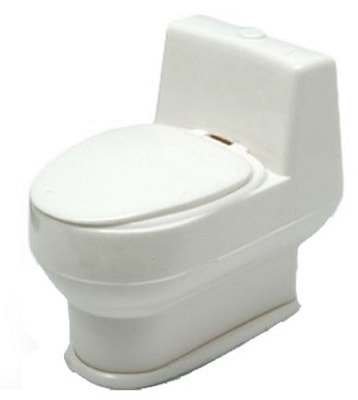
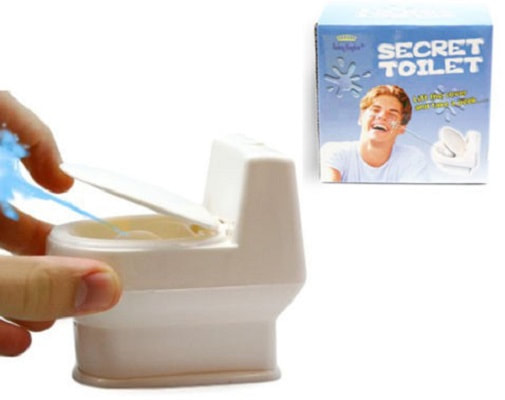
As I already modified one of these for our 2nd floor bathroom, when I needed a second one for the master bathroom, it seemed prudent to show how I did it to anyone interested in having a believable 1/6th toilet. So here we go. This “toilet” is designed as a gag item to squirt water if the seat is lifted.
|
|
|
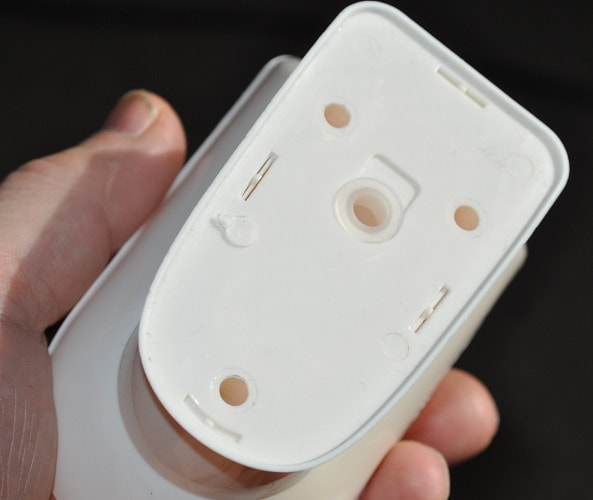
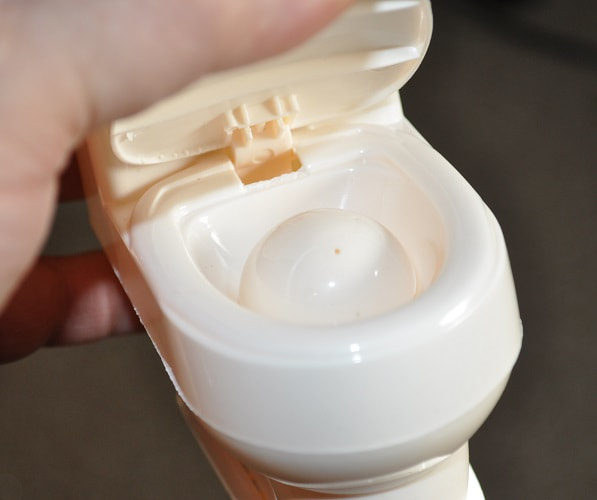
First, remove the three screws in the bottom and pull the bottom free from the squirt nozzle in the toilet bowl.
Open the lid and remove the squirt nozzle from the bowl and discard.
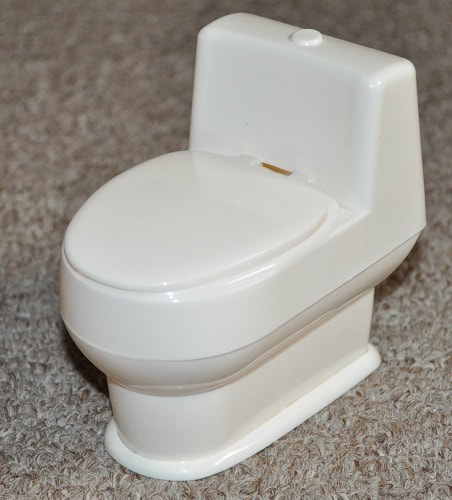
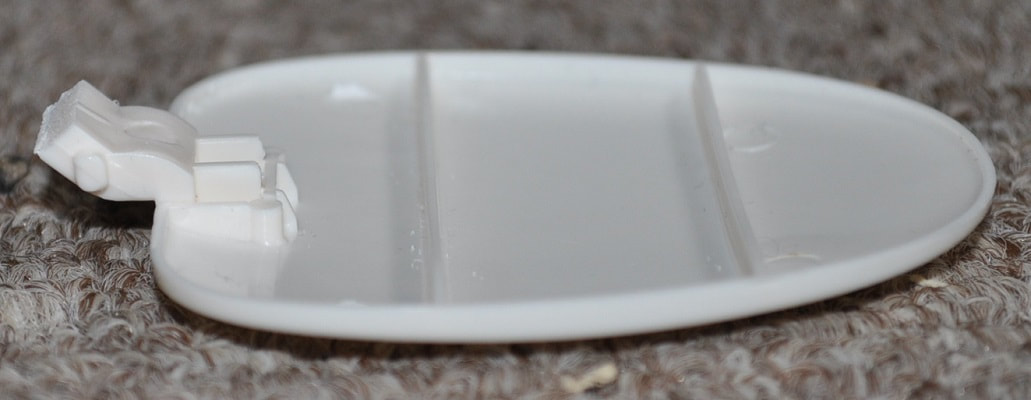
Below are the basic parts for the toilet. The bowl separates horizontally in the middle as shown.

I went ahead and removed the water bottle but this step is not required.
If you ever plan on using it with the seat UP…there is a needed modification to the seat itself and the inside of the bowl.
If you ever plan on using it with the seat UP…there is a needed modification to the seat itself and the inside of the bowl.
Below is the seat modification. I simply used a disk sander to remove the internal lever that squeezed the water bottle when it is lifted to within 1/16”-3/32” of the pivot pin.

|
|
Stock Seat Modified Seat
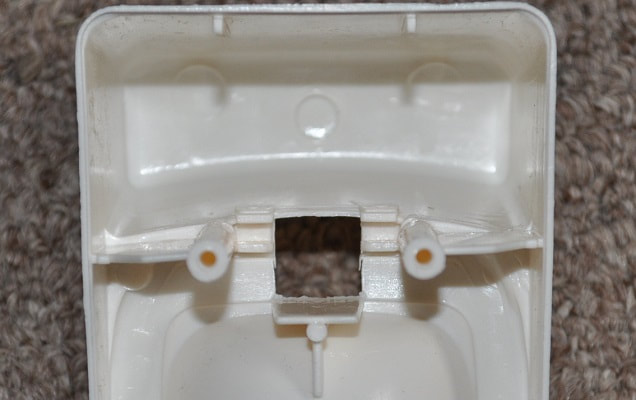
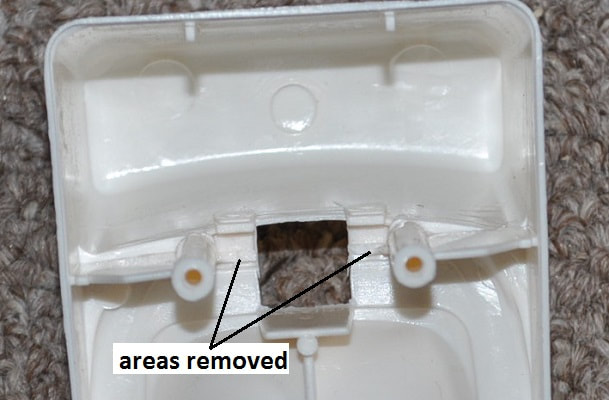
The modification to the internal workings of the bowl is shown below. This modification amounts to removing the front of the seat pivot pin location so the seat pivot will slide forward to allow the seat to be fully opened. I reached in with a good pair of needle-nose pliers and gently twisted back and forth until it broke off. Just watch the outside surface to ensure you are not doing damage there if you are too rough.
|
|
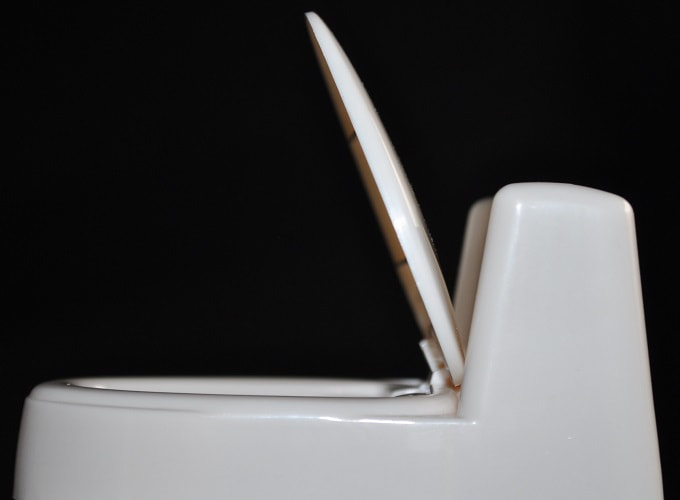
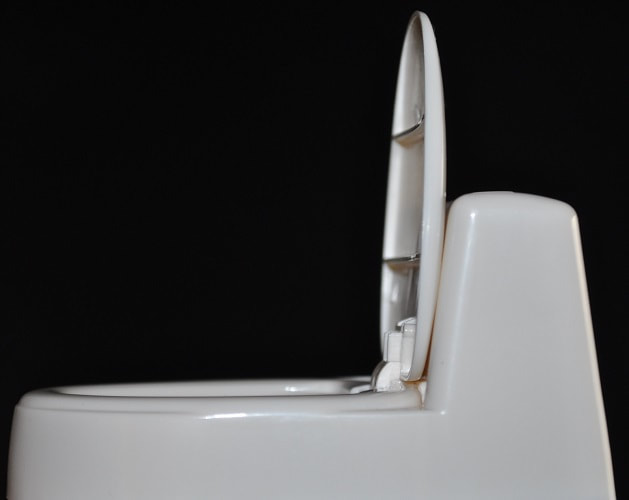
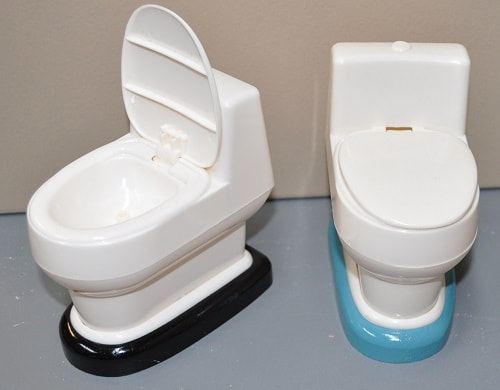
Without this modification the toilet would make a poor prop as shown below next to a properly opening modified toilet. NOTE: The toilet seat WILL fit looser with this modification but, even at its worst alignment, it is better than some in the real world. Just be aware of this in pictures and such.
|
|
Limited opening Properly opening
Now that the two modifications are made to the stock unit, we can now address the issue of it being woefully short. I solved this issue by building a custom riser for the bottom.
CUSTOM RISER
By taking a piece of clean (no knots) wood ½” thick and at least 2 ½” x 4”, trace around the bottom of the toilet centered on the wood. Lay out a line ¼” outside this shape. This is the cut line so a ¼” radius can be added to the top surface. I’d suggest cutting it just oversized and bringing it down to the final size with a disk sander. Do a little careful hand sanding to smooth out the sander marks before routering.
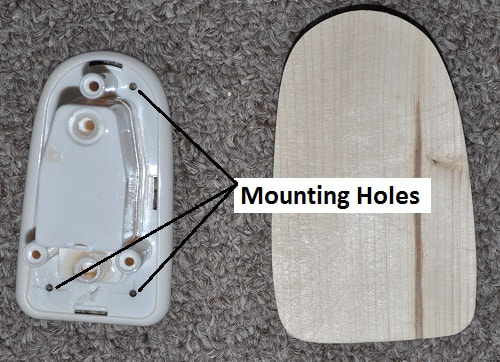
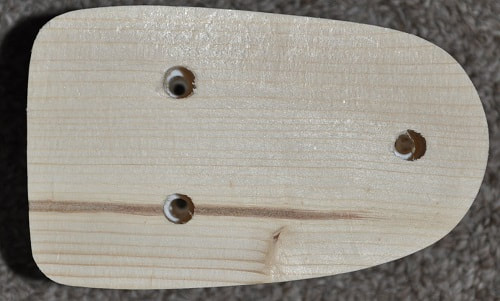
Drill holes for #2 screws to secure the base of the toilet to the riser.
By taking a piece of clean (no knots) wood ½” thick and at least 2 ½” x 4”, trace around the bottom of the toilet centered on the wood. Lay out a line ¼” outside this shape. This is the cut line so a ¼” radius can be added to the top surface. I’d suggest cutting it just oversized and bringing it down to the final size with a disk sander. Do a little careful hand sanding to smooth out the sander marks before routering.
Drill holes for #2 screws to secure the base of the toilet to the riser.
Center the toilet base on the riser and install the screws as below.
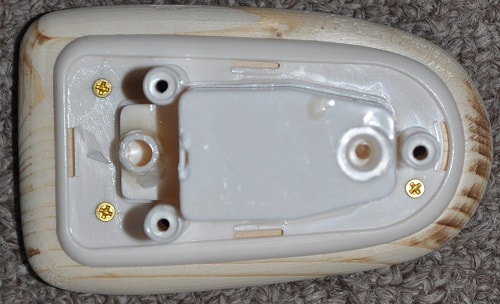
Run a drill bit down through the three screw holes that hold the toilet together until you make a mark in the riser to establish these locations. Remove the toilet base from the riser and drill through these three new locations with a bit big enough to let the screws pass through. I used a ¼” bit.
The riser is now complete and can be primed and painted the final color. Remember that a good prime job will hide the fact that this riser is a block of wood.
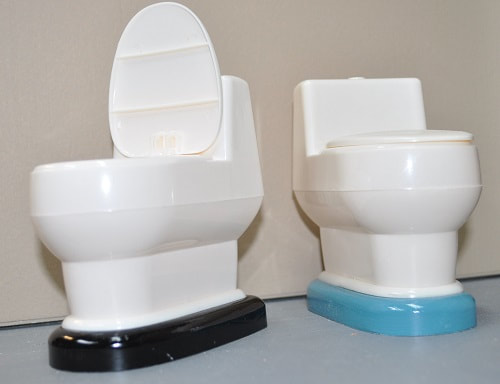
Once the riser is painted, dry and the toilet is reassembled you have what is pictured below. The one on the right is the first one I made for the 2nd floor bathroom while the one on the left is the latest one for the master bathroom.
|
|
I hope this may be helpful to someone…or is at least mildly interesting. These toilets can be seen prominently in our iCarly:Five Years Later master and 2nd floor bathroom sets.